
The Problem
Ecommerce sellers often encounter the headache of bookkeeping for their business. It's a hassle to parse through sales data and correctly categorize it for tax purposes or for general visibility into the business's financial health.
Some people may decide to use Excel to keep track, or they may choose to manually create the transactions in an accounting software like QuickBooks Online. Either way, this is very error-prone, and it leaves much of the bookkeeping work to people who aren't familiar with the bookkeeping process, and to business owners who would much rather spend their time focusing on increasing revenues.
How does Klavena fit in?
- CPA-approved method to import sales data into QuickBooks Online. Hours will be saved monthly on bookkeeping, and tax season will be a breeze.
- Properly transform uncategorized sales, tax, refund, fee data into summaries that reconcile perfectly in QuickBooks Online
- Standardized format across all sales channels, so that you can easily compare them against each other.
- Automated sync that saves hours every month and eliminates the error-prone process of manual entry.
- Keeps track of inventory to allow automatic calculation of cost of goods sold (COGS) with QuickBooks' built-in first-in-first-out calculation.
- Scales with your ecommerce business to any number of orders.
- Sets up your accounting program with industry best practices of the accrual method of accounting and inventory tracking.
- As your ecommerce business scales to a certain size, the IRS dictates that your business must use the accrual method. It's better to get set up with best practices early.
Sign in
To get started with Klavena, you'll need to sign in through Single Sign On (SSO) with either Intuit or Google.

This will ask you for your respective Intuit or Google credentials and redirect you to the Klavena app.
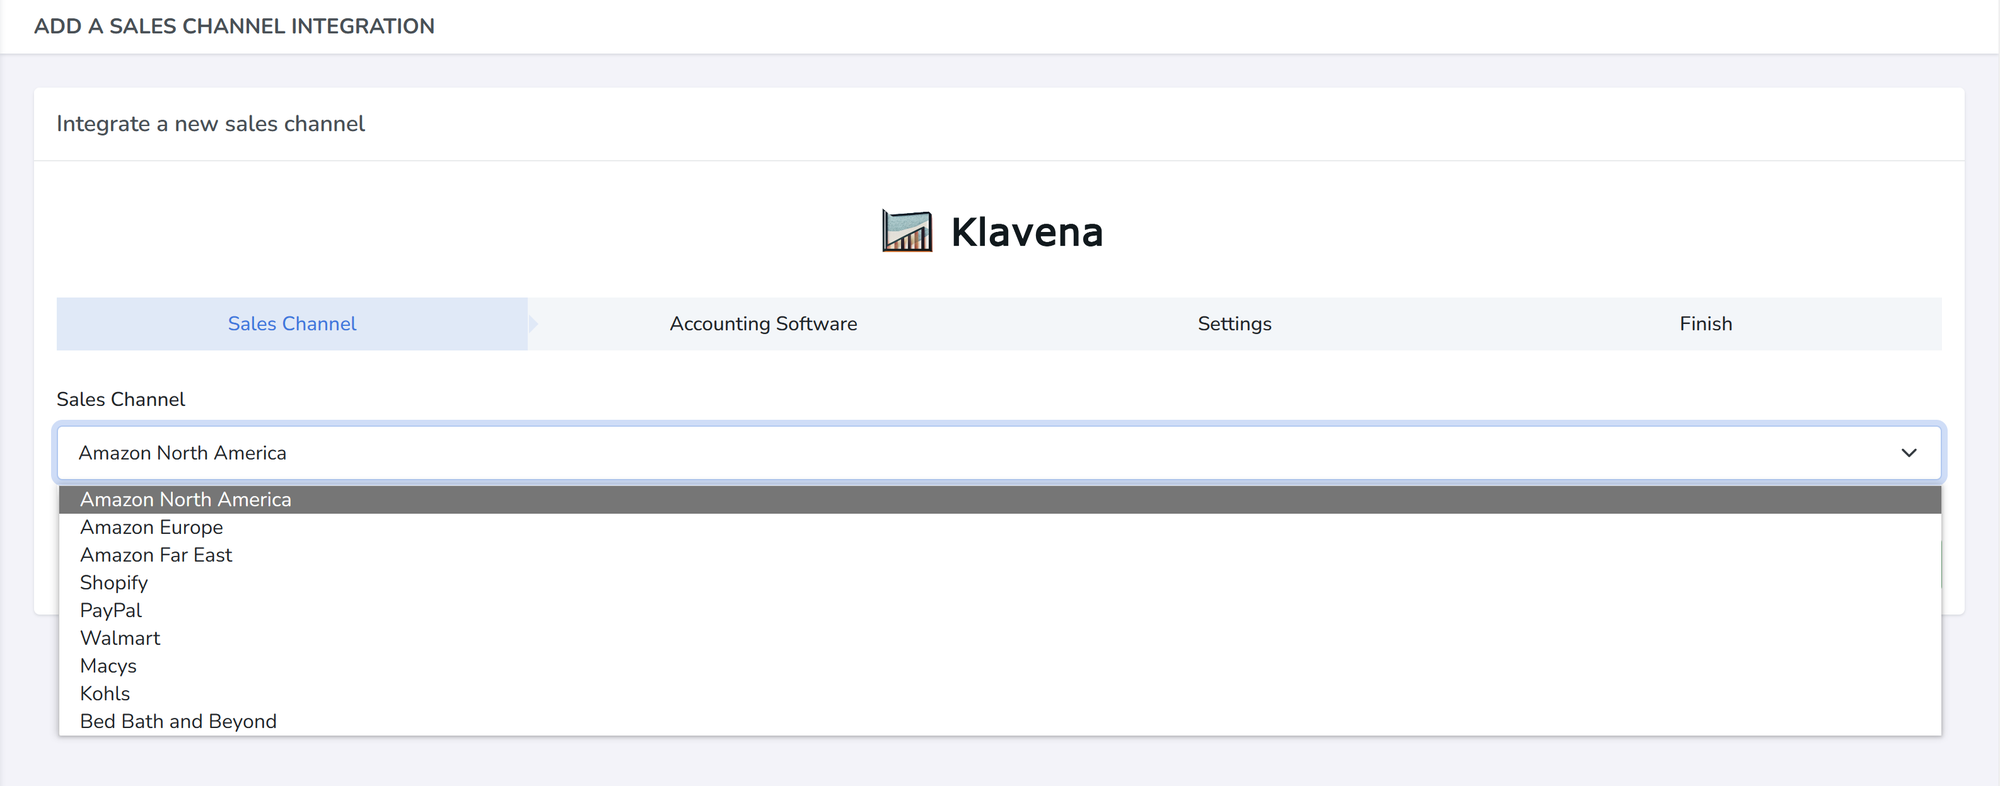
Select Sales Channel
Next, you will need to add your first integration before you can import data. Every integration comprises of a link between a sales channel and an accounting software.
With Klavena, here are the sales channels currently available:
- Amazon (all regions: North America, Europe, and Far East)
- Shopify (coming soon)
- PayPal
- Walmart
- Macys
- Kohls
- Bed Bath & Beyond
Authorize Sales Channel
Depending on the sales channel, there will be a different authorization method to give permission for Klavena to access the sales channel's data. Below, we detail the methods for each sales channel:
OAuth redirect
For these sales channels, Klavena will redirect you to the sales channel's page to authorize permission.
- Amazon North America
- Amazon Europe
- Amazon Far East
Note: Authorizing the region will authorize all of the marketplaces within at once. For example, authorizing Amazon North America will authorize Amazon United States of America, Amazon Canada, and Amazon Mexico at once.
Additional Note: Each of the regions: Amazon North America, Amazon Europe, and Amazon Far East are counted as separate "sales channels", and you will need to authorize each of them.
API Key
With the API Key authorization method, you will need to login to the sales channel backend, find the API Key in your settings, and copy/paste into Klavena's integration wizard.
- PayPal - How do I find PayPal API Keys?
- Walmart - How do I find Walmart Marketplace API Keys?
- Macys - How to I find Macys Marketplace API Key?
- Kohls - How do I find Kohls Marketplace API Key?
- Bed Bath & Beyond - How do I find Bed Bath & Beyond API Key?
Coming soon
- Shopify - (coming soon)
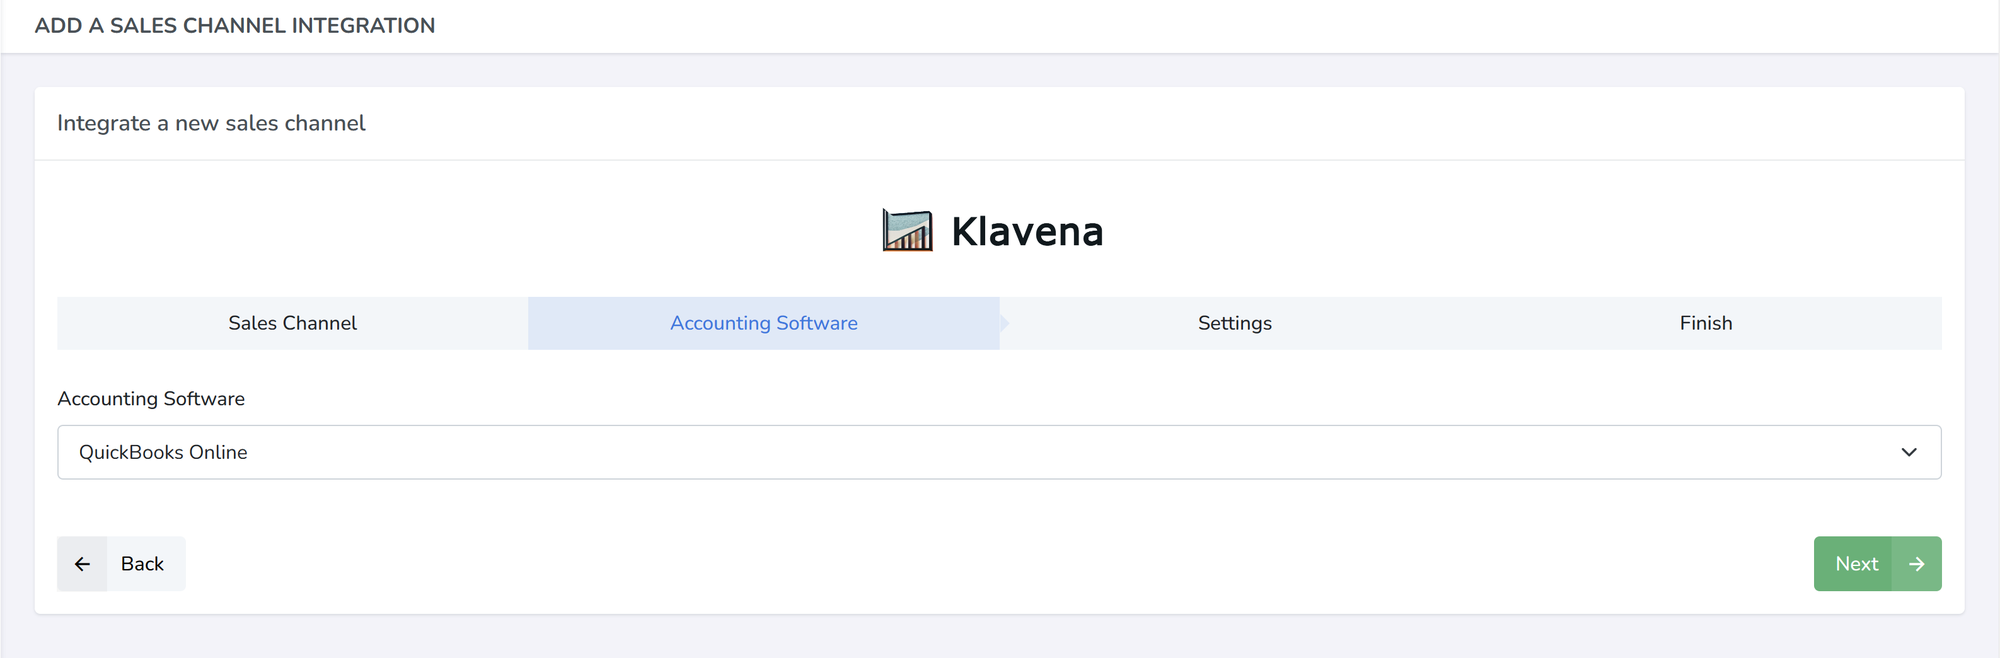
Select Accounting Software
Next, select the accounting software that you will be using. Currently, only QuickBooks Online is available.
Authorize Accounting Software
Klavena will redirect to QuickBooks Online's authorization page, where you will have to authorize permission to access the accounting API.
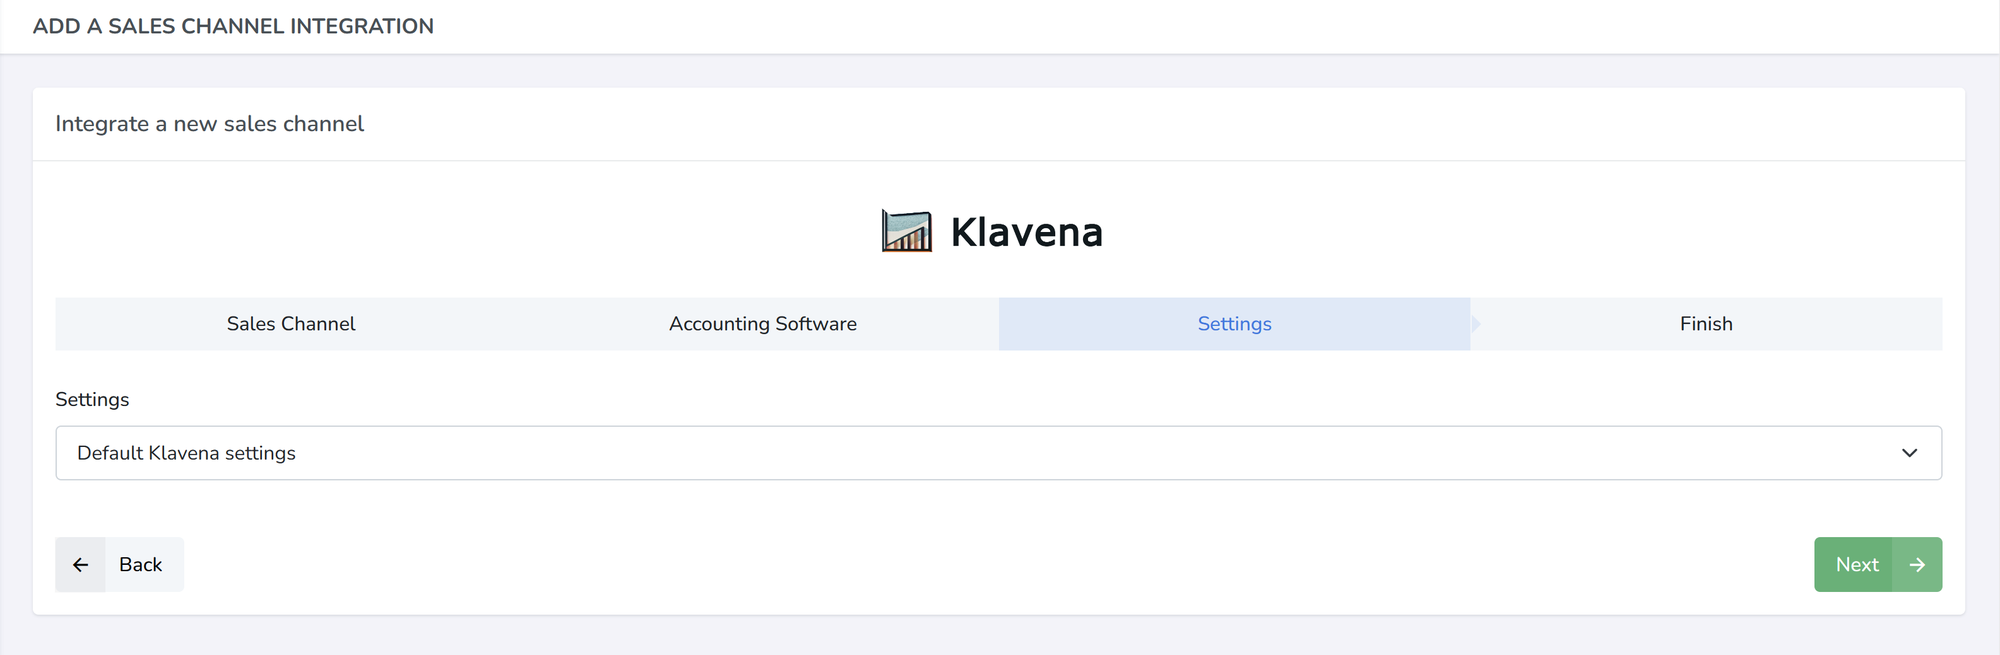
Settings
Select default settings. In the future, this will be more detailed to account for custom setups.
Finish Creating New Integration
After you authorize the sales channel and accounting software, Klavena will fetch the settlements from the sales channel and generate some objects in QuickBooks Online to help organize your accounting data.
Learn more about the objects that Klavena creates in Quickbooks Online.
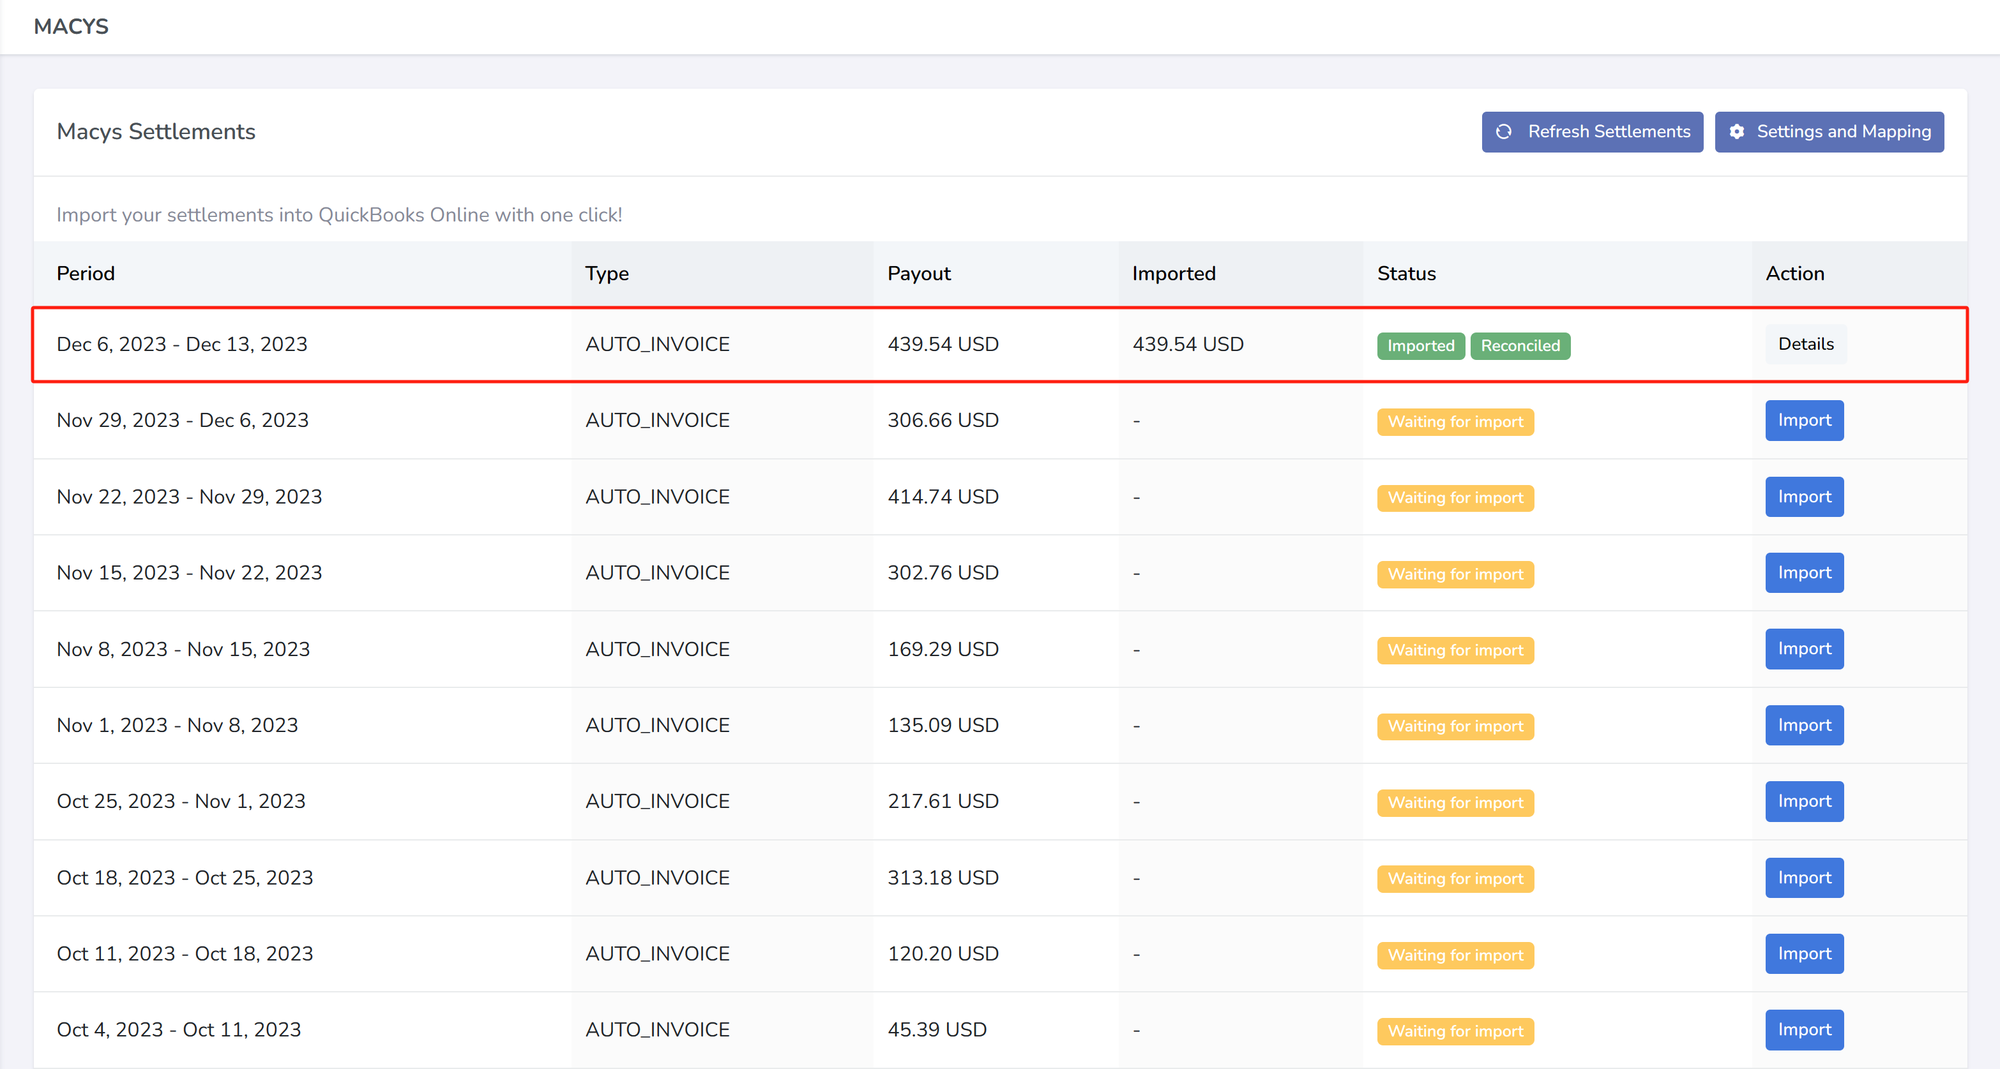
Import Settlement
After you have created the new integration, it should redirect you to the integration's page, where you can see all of the settlements that are available to import.
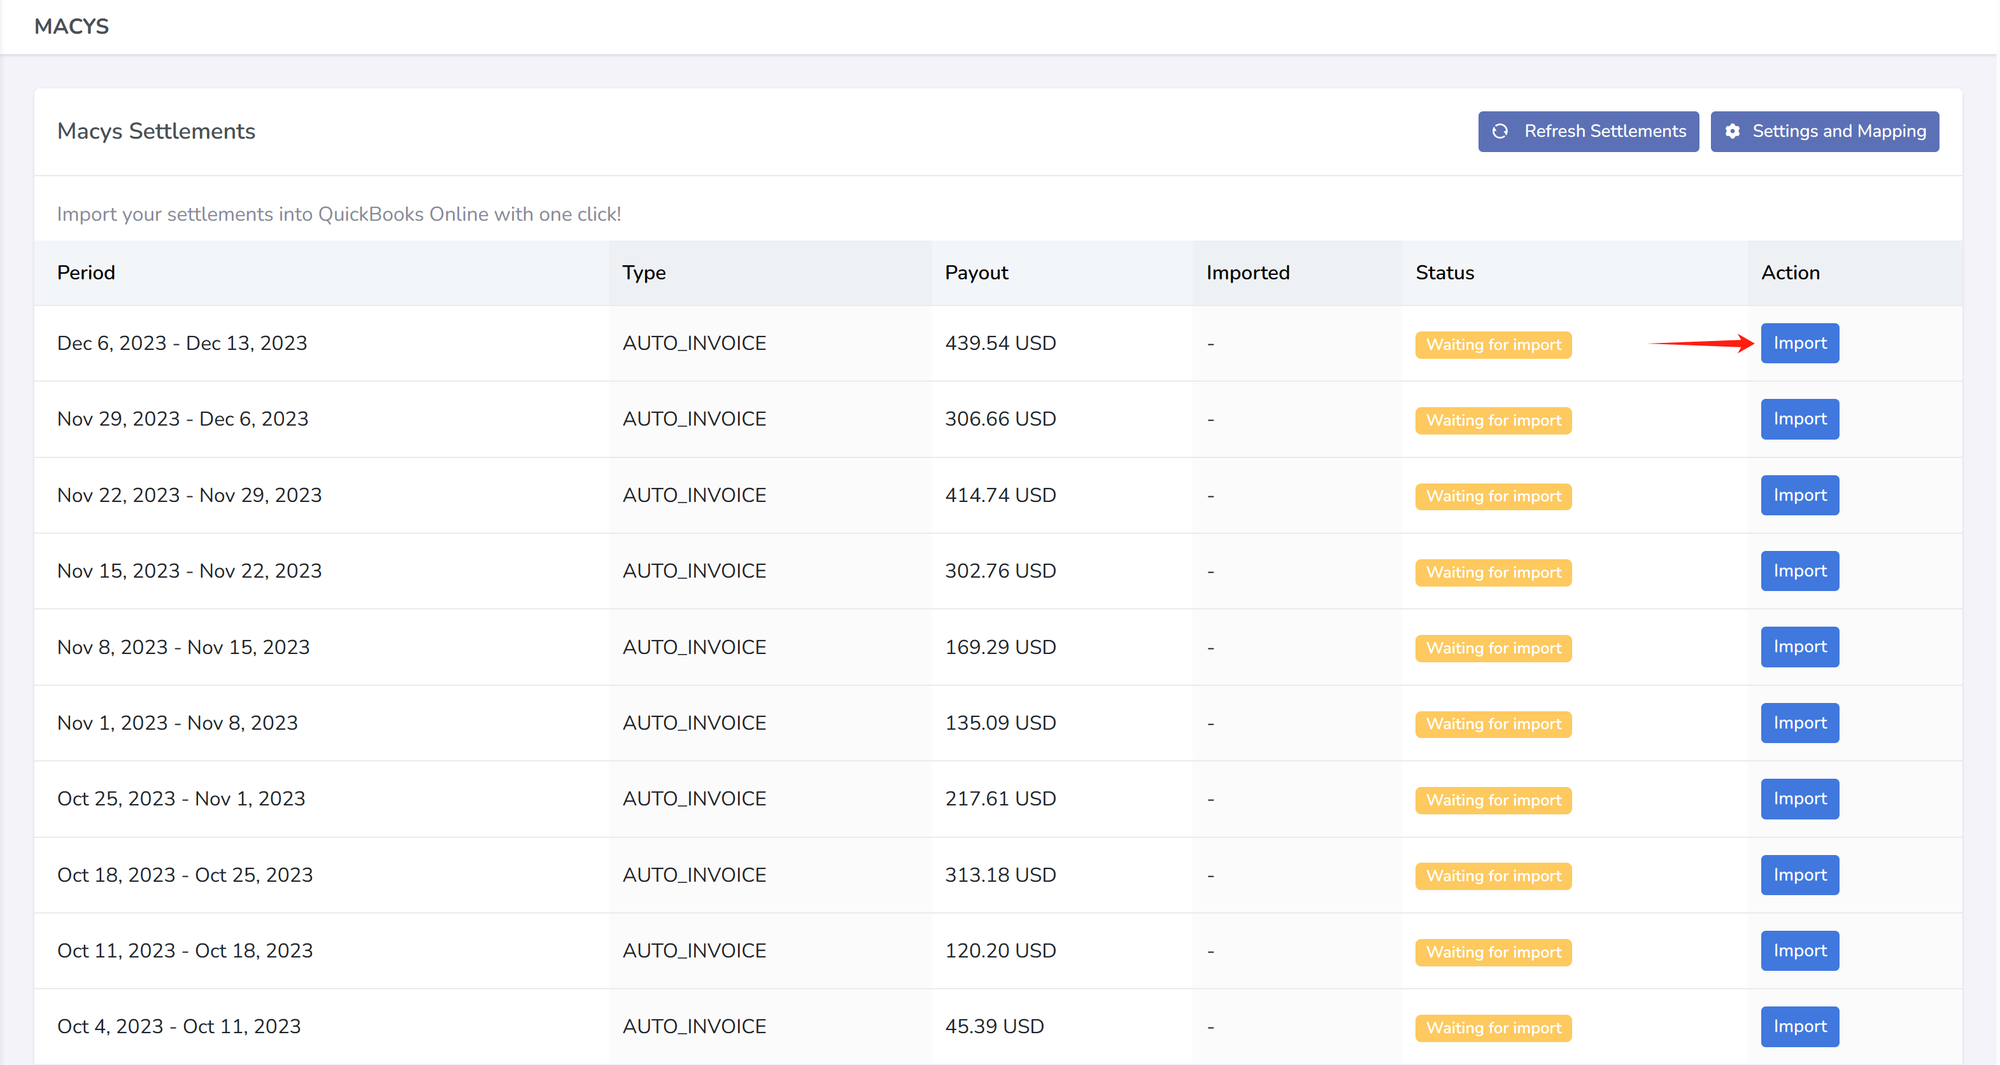
You can click on import settlement button to import the settlement into QuickBooks Online.
Afterwards, check in your chart of accounts to see that the correct amount is there.
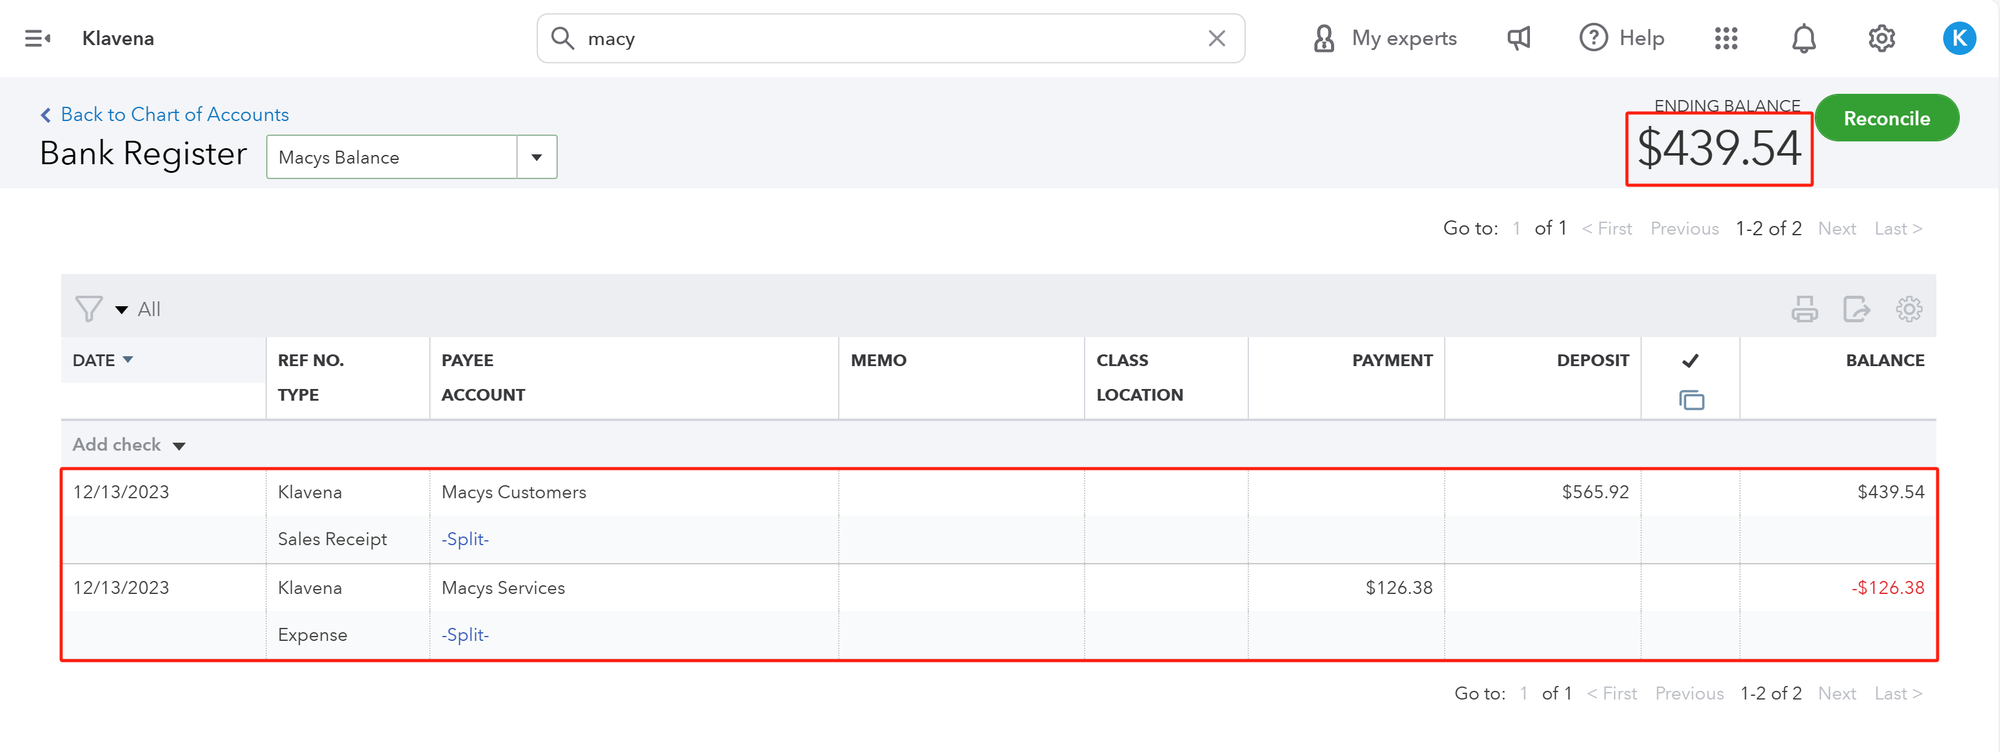
As you can see, Klavena has categorized the settlement's transactions into two QuickBooks Online objects: sales receipt and expense.
Sales receipts are used, as the name implies, to keep track of all sales related data such as product sales, tax, shipping, promotions, etc. Expenses are used to keep track of commission, fulfillment, storage, advertising, etc. If you click into the specific QuickBooks transaction, and select "Edit", you will be able to see a detailed breakdown of the sales and expenses for this period.
Congratulations!
You've linked your first sales channel to QuickBooks Online and imported your first settlement. Next, we will explore in greater detail the functionality of Klavena, and some of its extra features.
Next Steps:
- Group By Day Setting - Configure this for more accurate accounting for settlements that start and end in different months
- Inventory Tracking Setting - Configure this for inventory tracking with QuickBooks Online's built in COGS calculation with the FIFO algorithm.